

Configuring the Workflow
After clicking “Use Workflow” from the detail view, the setup page shows each Sub-agent step displayed vertically. Each step is numbered with an orange circle badge and includes a full description, core capabilities, and two optional input buttons:- ”+ Add connector”: Opens a modal listing your configured Connectors (Confluence, Jira, File, and others) with checkboxes. Select which data sources this step should search.
- ”+ Add file”: Opens the Vault file browser. Navigate folders, search, and select files relevant to this step.
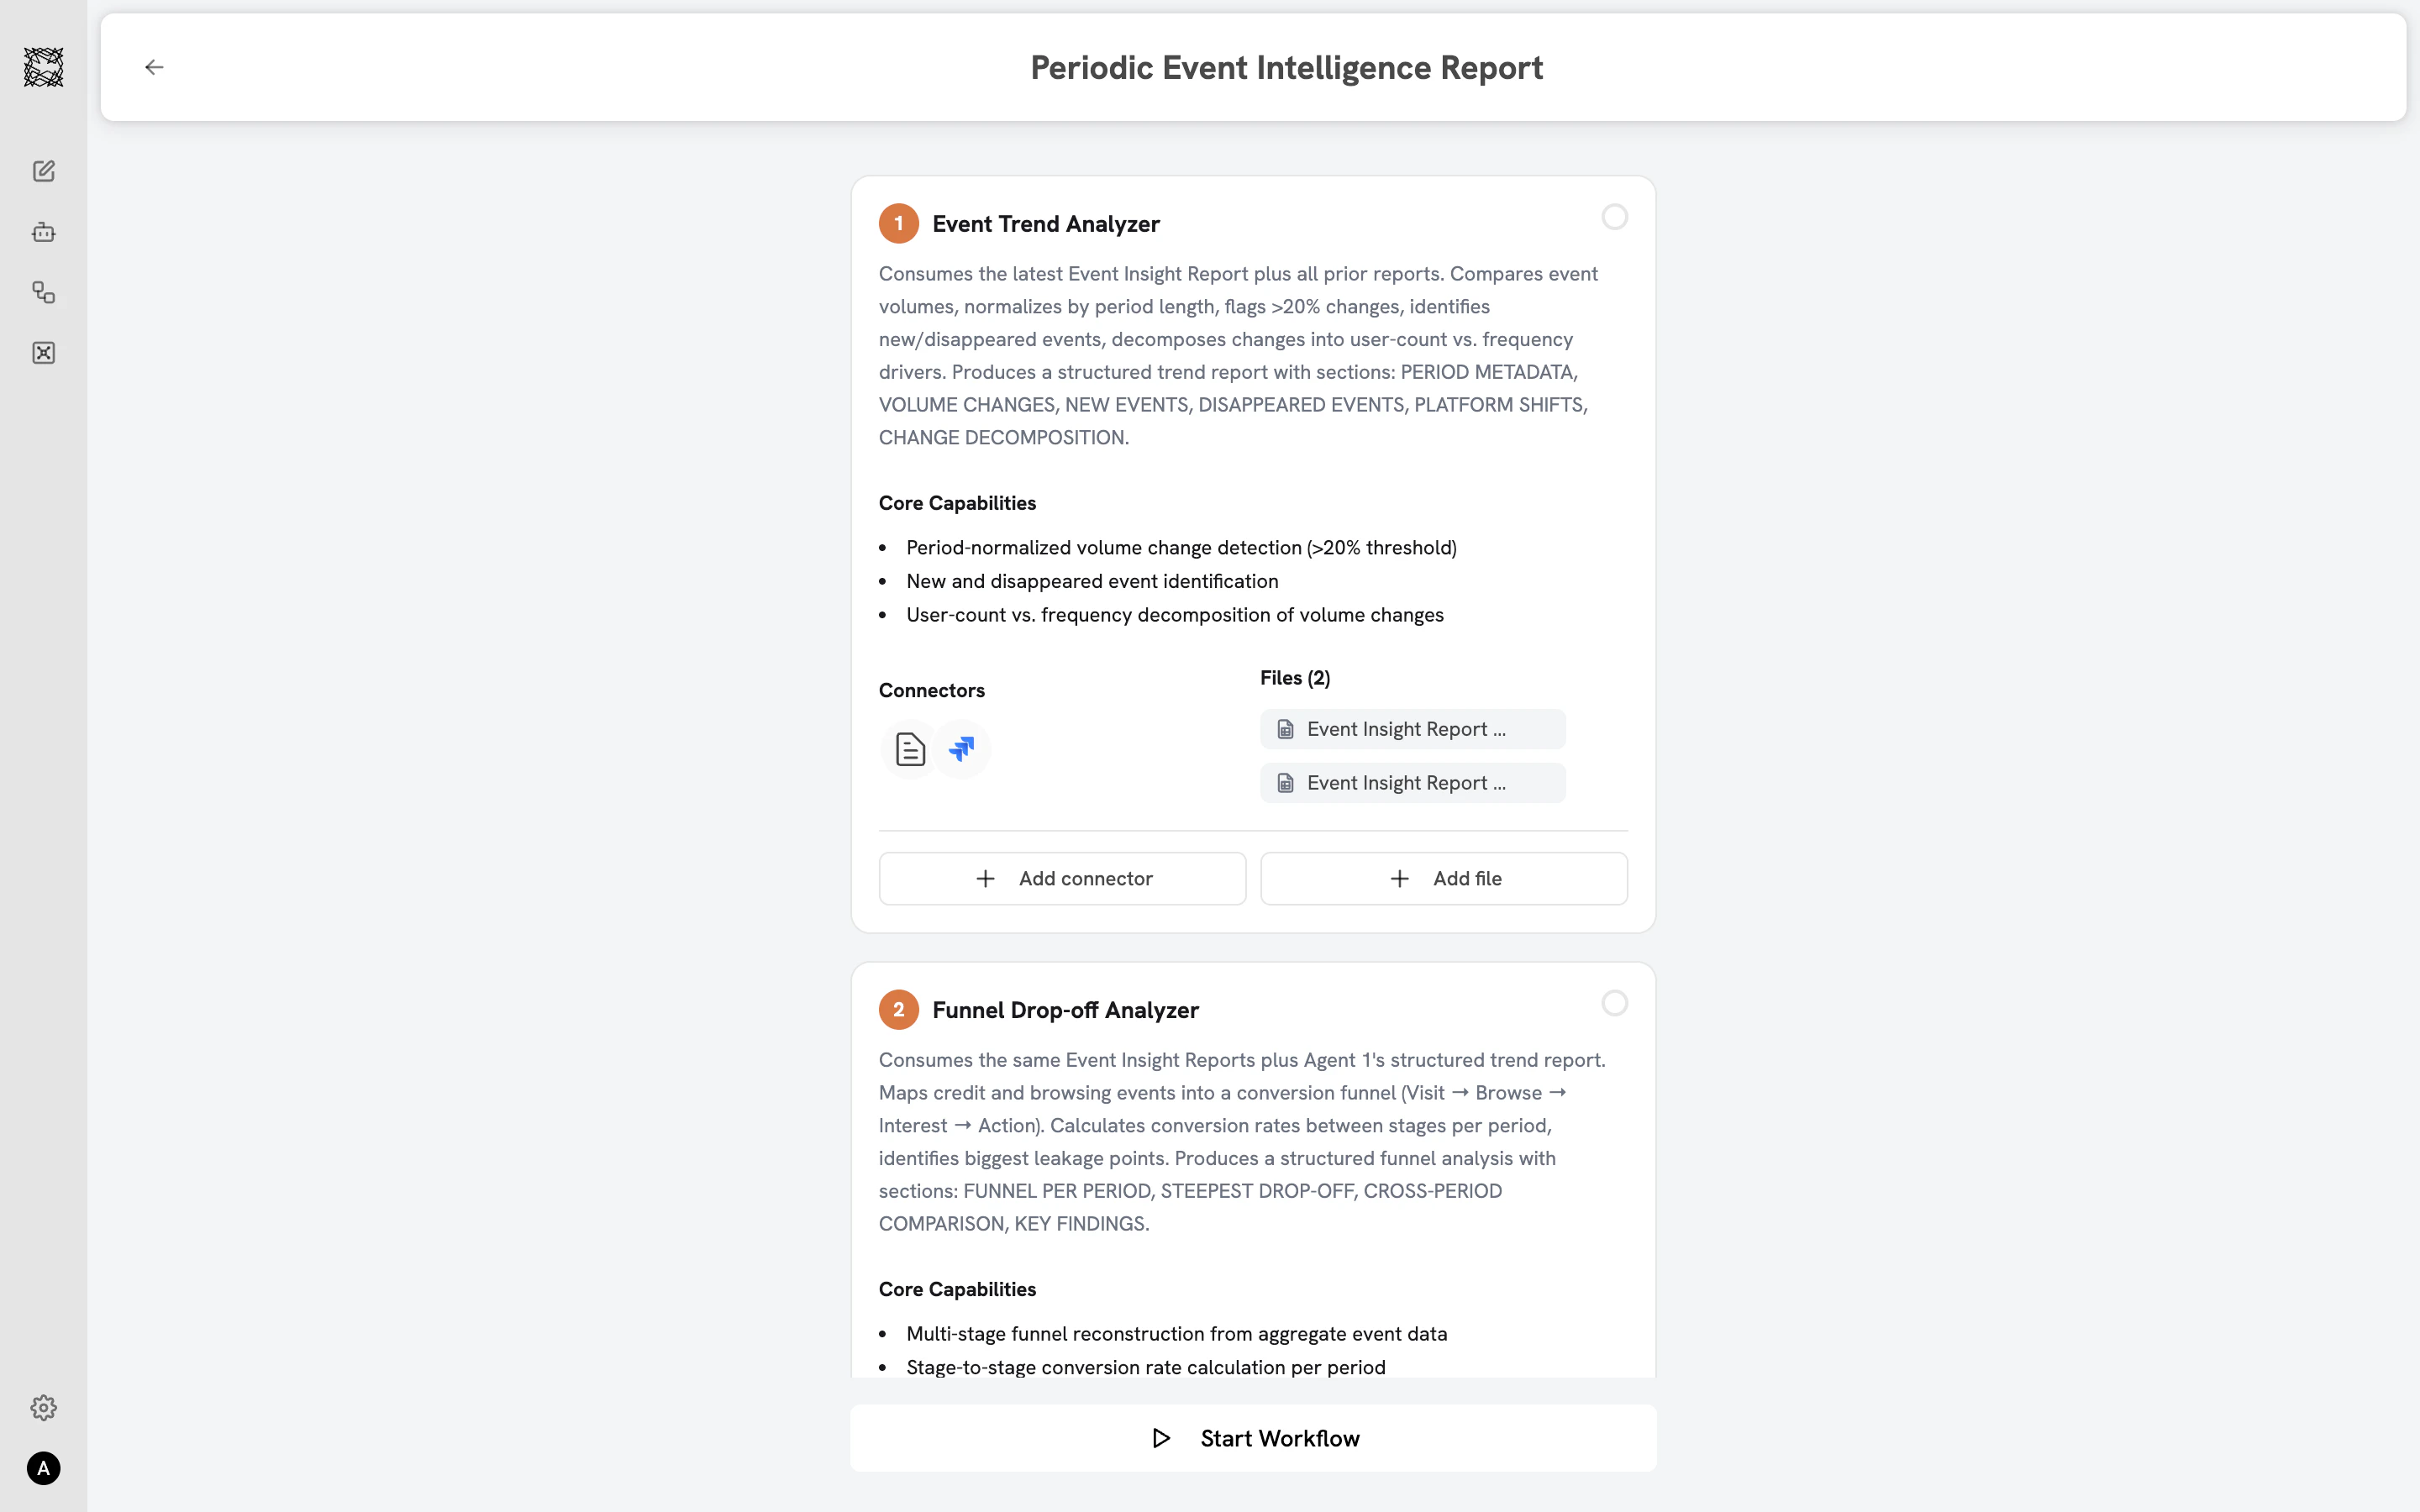
Starting and watching execution
Click “Start Workflow” at the bottom of the setup page. Each Sub-agent executes in sequence:- Status indicators on each step animate through three states: empty circle (not started), spinning (working), green checkmark (completed).
- On the catalog page, your running Workflow shows a green “Running” badge with real-time progress (“Agent 1 of 4”).
- Sub-agents execute one by one, each passing its output to the next in the sequence.
Reviewing results
When the Workflow completes, the conversation opens in a split-screen layout:- Left side: The chat conversation showing file attachments, Sub-agent outputs, and the final synthesized deliverable.
- Right side: A persistent Workflow panel showing all Sub-agent steps with their status indicators, attached Connectors, and files.
When to use Workflows vs. individual Agents
| Use a Workflow when… | Use an Agent when… |
|---|---|
| The work benefits from multiple specialist perspectives | You need a focused deliverable from one specialist |
| You want a comprehensive package (board prep, audit report, campaign plan) | You want a quick, targeted result (contract review, status report) |
| The task has multiple phases (research, analysis, synthesis) | The task is straightforward and well-defined |
| Multiple data sources need to be combined and synthesized | One data source or topic is sufficient |
Agents
Browse individual specialist Agents
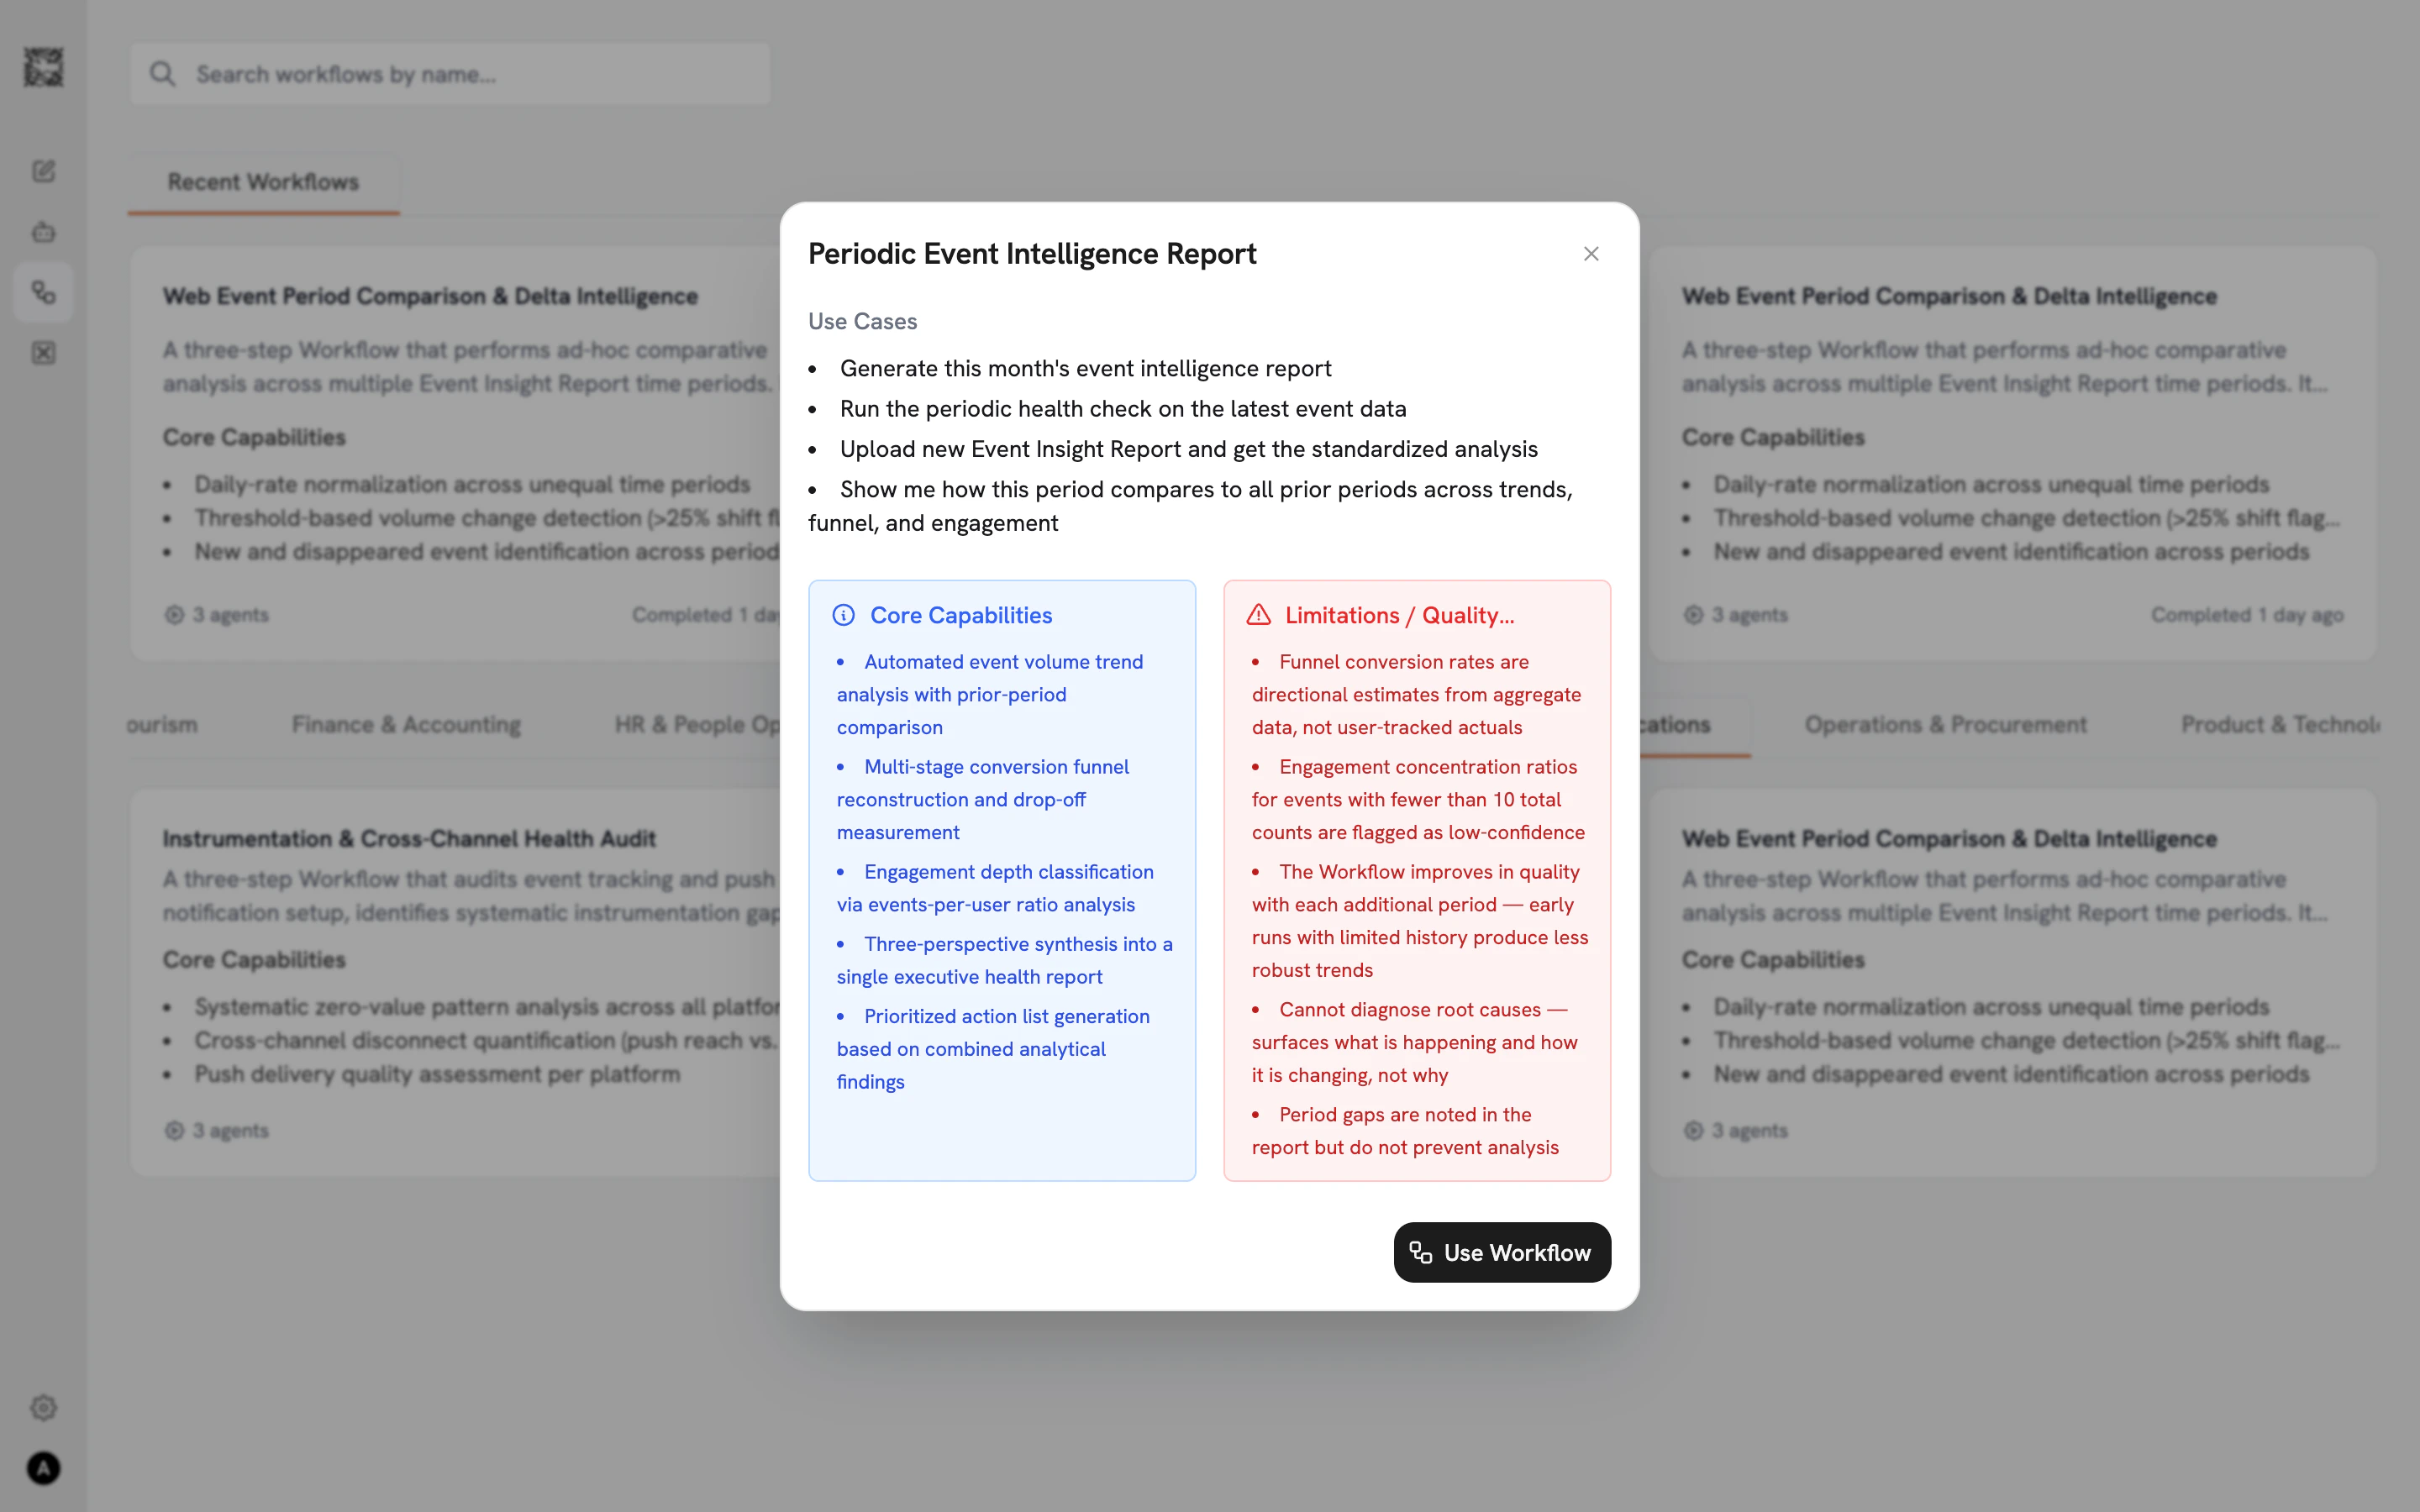
Use Cases
See Workflows in action across departments